مقدمة
يعد مستشعر الأشعة تحت الحمراء (IR Sensor) من الأدوات الأساسية في العديد من المشاريع الإلكترونية، خاصة في مجال الروبوتات، الأتمتة، وأنظمة الأمان. يعتمد مستشعر IR على استخدام الضوء غير المرئي (الأشعة تحت الحمراء) للكشف عن وجود الأجسام أو تحديد المسافة بينها وبين المستشعر. يمكن استخدامه في مجموعة واسعة من التطبيقات مثل تجنب العوائق في الروبوتات، قياس المسافات، وأجهزة التحكم عن بُعد.
كيف يعمل مستشعر الأشعة تحت الحمراء؟
يتكون مستشعر الأشعة تحت الحمراء عادة من مكونين رئيسيين:
- المصدر الباعث للأشعة تحت الحمراء (LED): يقوم بإصدار الضوء غير المرئي.
- المستشعر الضوئي (Photodetector): يستقبل الضوء المنعكس من الأجسام القريبة ويحولها إلى إشارة كهربائية.
عند إرسال شعاع الأشعة تحت الحمراء من مصدر الإضاءة، ينعكس الضوء عن الأسطح القريبة، ثم يلتقطه المستشعر الضوئي. بناءً على كمية الضوء المرتد، يمكن للمستشعر تحديد وجود أو بعد الجسم.
أنواع مستشعرات الأشعة تحت الحمراء
- مستشعر IR للكشف عن العوائق (IR Obstacle Avoidance Sensor):
- الوظيفة: يستخدم هذا النوع للكشف عن الأجسام القريبة من المستشعر، مما يسمح للروبوت بتجنب العوائق.
- نطاق الكشف: يتراوح بين 10 و 80 سم، حسب نوع المستشعر.
- طريقة الإخراج: إشارة رقمية تُشير إلى وجود جسم أم لا (إشارة عالية أو منخفضة).
- مستشعر المسافة بالأشعة تحت الحمراء (IR Distance Sensor):
- الوظيفة: يستخدم لقياس المسافة بين المستشعر والجسم. مثال شائع على ذلك هو مستشعر Sharp GP2Y0A21YK0F.
- نطاق الكشف: يتراوح بين 10 و 80 سم.
- طريقة الإخراج: إخراج تمثيلي للجهد، حيث يرتبط الجهد المرسل بالمستوى الذي يعكس المسافة.
- مستشعر الأشعة تحت الحمراء لتتبع الخطوط (IR Line Follower Sensor):
- الوظيفة: يُستخدم هذا المستشعر لتتبع الخطوط السوداء أو البيضاء على سطح معين.
- طريقة الإخراج: عادةً ما يُنتج إشارة رقمية تُشير إلى ما إذا كان المستشعر قد اكتشف الخط أو لا.
مزايا مستشعرات الأشعة تحت الحمراء
- الكشف بدون اتصال مادي: يمكن لمستشعرات IR اكتشاف الأجسام دون الحاجة إلى الاتصال المباشر، مما يجعلها مثالية للتطبيقات مثل الروبوتات التي تحتاج إلى تجنب العوائق.
- استهلاك منخفض للطاقة: تعتبر مستشعرات الأشعة تحت الحمراء من الأدوات التي تستهلك طاقة منخفضة، مما يجعلها مناسبة للمشاريع التي تعمل بالبطاريات.
- سهولة التكامل: يمكن دمج مستشعرات IR بسهولة مع منصات مثل الأردوينو (Arduino) للتحكم في العديد من التطبيقات.
- التكلفة المنخفضة: تعد مستشعرات IR من الأجهزة الاقتصادية المتاحة بأسعار منخفضة مما يجعلها خيارًا مثاليًا للمشاريع الصغيرة والكبيرة.
كيفية توصيل مستشعر الأشعة تحت الحمراء بالأردوينو
المكونات المطلوبة:
- لوحة أردوينو (مثل أردوينو أونو)
- مستشعر الأشعة تحت الحمراء (مثل مستشعر الكشف عن العوائق أو مستشعر المسافة)
- أسلاك توصيل
- لوح تجارب (اختياري)
خطوات التوصيل:
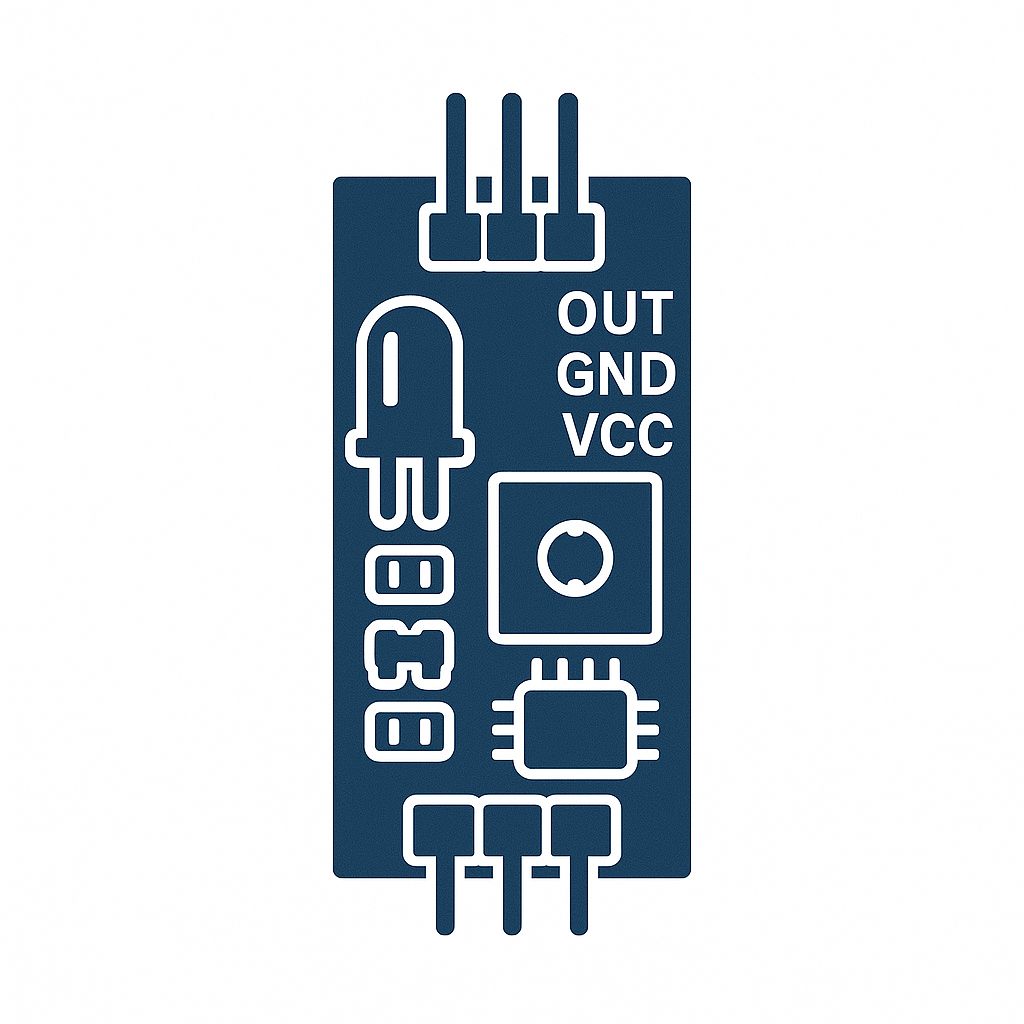
- قم بتوصيل دبابيس الـ VCC و GND في مستشعر IR إلى دبابيس 5V و GND في الأردوينو.
- قم بتوصيل دبوس الإخراج في مستشعر IR (الذي يكون إما رقميًا أو تمثيليًا) إلى أحد دبابيس الإدخال في الأردوينو.
- إذا كنت تستخدم مستشعر المسافة IR، يمكنك توصيل الإخراج التمثيلي إلى أحد دبابيس الإدخال التمثيلية في الأردوينو (مثل A0).
- قم بكتابة الكود في بيئة البرمجة الخاصة بالأردوينو (Arduino IDE) لقراءة بيانات المستشعر واتخاذ الإجراءات اللازمة بناءً على تلك البيانات.
استخدامات مستشعرات الأشعة تحت الحمراء
- الروبوتات: تستخدم في تجنب العوائق وتتبع الخطوط.
- الأتمتة المنزلية: يمكن استخدام مستشعرات IR للكشف عن الأجسام في تطبيقات الأتمتة مثل الأبواب الأوتوماتيكية.
- أنظمة الأمان: تستخدم للكشف عن الحركة أو الأجسام في مناطق معينة.
- الإلكترونيات الاستهلاكية: تُستخدم في أجهزة التحكم عن بُعد للأجهزة الإلكترونية المختلفة.
التحديات
- نطاق الكشف المحدود: بعض مستشعرات IR قد تكون محدودة في مدى الكشف، مما يجعلها غير مناسبة لبعض التطبيقات التي تتطلب نطاقًا طويلًا.
- التداخل مع الضوء الخارجي: قد تتأثر مستشعرات الأشعة تحت الحمراء بمصادر الضوء الخارجي، مثل ضوء الشمس.
- زاوية الكشف: بعض المستشعرات قد تكون محدودة في زاوية الكشف، مما يعني أنه يجب أن يكون الجسم أمام المستشعر مباشرة للكشف عنه.
الخاتمة
مستشعرات الأشعة تحت الحمراء هي أدوات فعالة وسهلة الاستخدام في العديد من التطبيقات الإلكترونية. سواء كان استخدامها في الروبوتات أو الأتمتة المنزلية أو أنظمة الأمان، توفر هذه المستشعرات وسيلة موثوقة وميسورة التكلفة للكشف عن الأجسام وتحديد المسافات دون الحاجة إلى الاتصال المباشر. تعد مستشعرات الأشعة تحت الحمراء خيارًا ممتازًا لمشاريع الأردوينو المختلفة.
Infrared (IR) Sensor
Introduction
The infrared (IR) sensor is a fundamental component in many electronic projects, especially in robotics, automation, and security systems. The IR sensor works by using invisible light (infrared radiation) to detect the presence of objects or measure the distance between the sensor and the object. It can be used in a wide range of applications such as obstacle avoidance in robots, distance measurement, and remote control systems.
How Does an IR Sensor Work?
An infrared sensor typically consists of two main components:
- Infrared Light Emitter (LED): This component emits invisible light.
- Photodetector: This component receives the reflected light from nearby objects and converts it into an electrical signal.
When the infrared light is emitted from the light source, it reflects off nearby surfaces, and the photodetector captures the reflected light. Based on the amount of reflected light, the sensor can determine the presence or distance of the object.
Types of Infrared Sensors
- IR Obstacle Avoidance Sensor:
- Function: This type is used to detect nearby objects, allowing a robot to avoid obstacles.
- Detection Range: Typically between 10 and 80 cm, depending on the sensor type.
- Output Method: A digital signal indicating the presence of an object (either HIGH or LOW signal).
- IR Distance Sensor:
- Function: Used to measure the distance between the sensor and the object. A popular example is the Sharp GP2Y0A21YK0F sensor.
- Detection Range: Typically between 10 and 80 cm.
- Output Method: Analog output where the voltage corresponds to the distance.
- IR Line Follower Sensor:
- Function: This sensor is used for following black or white lines on a surface.
- Output Method: Usually outputs a digital signal indicating whether the sensor has detected the line or not.
Advantages of IR Sensors
- Contactless Detection: IR sensors can detect objects without direct contact, making them ideal for applications like obstacle avoidance in robots.
- Low Power Consumption: Infrared sensors consume low power, making them suitable for battery-operated projects.
- Easy Integration: IR sensors can be easily integrated with platforms like Arduino for various applications.
- Low Cost: IR sensors are cost-effective devices, making them an excellent choice for both small and large projects.
How to Connect an IR Sensor to Arduino
Required Components:
- Arduino board (e.g., Arduino Uno)
- IR sensor (e.g., obstacle avoidance sensor or distance sensor)
- Connecting wires
- Breadboard (optional)
Connection Steps:
- Connect the VCC and GND pins of the IR sensor to the 5V and GND pins on the Arduino.
- Connect the output pin of the IR sensor (which could be either digital or analog) to one of the input pins on the Arduino.
- If you’re using an IR distance sensor, you can connect the analog output to one of the analog input pins on the Arduino (e.g., A0).
- Write the appropriate code in the Arduino IDE to read the sensor data and take actions based on that data.
Applications of IR Sensors
- Robotics: Used for obstacle avoidance and line following.
- Home Automation: IR sensors can be used to detect objects in automation systems, such as automatic doors.
- Security Systems: Used to detect motion or objects in specific areas.
- Consumer Electronics: Commonly used in remote control devices for various electronic appliances.
Challenges
- Limited Detection Range: Some IR sensors may have limited detection ranges, making them unsuitable for applications requiring longer ranges.
- Interference from External Light: IR sensors can be affected by external light sources, such as sunlight.
- Detection Angle: Some sensors may have a narrow detection angle, meaning the object needs to be directly in front of the sensor to be detected.
Conclusion
Infrared sensors are effective and easy-to-use tools in many electronic applications. Whether used in robotics, home automation, or security systems, these sensors provide a reliable and cost-effective way to detect objects and measure distances without the need for direct contact. IR sensors are an excellent choice for various Arduino projects.